Getting tired of looking at the same old interface of your Windows PC? That’s not a problem with Windows 10. Here are some of the many ways you can customize your PC and make it a better fit for your work or leisure needs.
Change your themes
The most notable way to personalize Windows 10 is by changing your background and lock screen images. Do this by right-clicking anywhere on your desktop and choosing Personalize. Here, you can choose and preview different backgrounds and themes you can use. You can even add new themes by using images from your gallery or by clicking Get more themes in the Microsoft Store.
Use dark mode
Want to give your Windows 10 an edgier feel? Right-click on your desktop and choose Personalize. Go to Colors. Under Choose your color, select Dark. This changes the colors of your windows and menus from white or gray to black, and text from black to white. The colors on websites and third-party apps remain unchanged, however.
To restore your default settings, repeat the process but click Light.
Virtual desktops
If you’re having trouble separating your work files from your personal files, try creating a virtual desktop. Press the Windows key + TAB to show all your open windows. Click on the Add a new desktop button at the upper left corner of your screen to create a virtual desktop. While viewing your open windows, you can click and drag windows from one desktop to another.
To quickly switch between desktops, use the keyboard shortcut CTRL + Windows key + left/right arrow. Remove a virtual desktop by pressing Windows key + TAB. Click on the X button on the desktop you want to erase.
App snapping
App snapping is not exactly a new feature, but Windows 10 lets you snap any app in place. Snap an app window by dragging it into any of the four corners of your screen. This changes your window to a fourth of your screen size, allowing you to view multiple windows at once. You can have a maximum of four separate windows simultaneously open in your monitor.
Reorganize your Start Menu
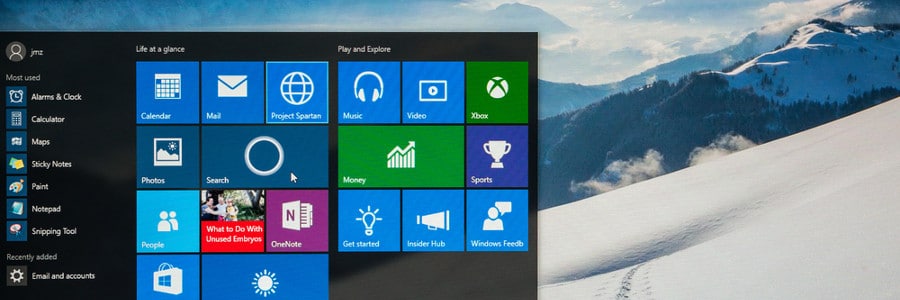
To add a little more “you” to your Windows PC, you can customize how your apps are arranged on the Start menu. For one, you can resize the Start menu by simply dragging the top or right side of the menu.
You can also resize the live tiles by right-clicking on them and selecting Resize. You can also rearrange application tiles by dragging them anywhere around the Start menu. If you won’t be using a particular application, simply right-click the tile and select Unpin from Start. On the other hand, if you want to pin applications to the Start menu, right-click on an app and choose Pin to Start.
For even faster access to apps, simply pin the programs to the taskbar.
Change color themes
Is the plain black Start menu not doing it for you anymore? Just right-click on your desktop, choose Personalize, go to Color, and select any accent color that pleases you. Tick the checkboxes under Show accent color on the following surfaces if you want this color applied to the Start menu, taskbar, action center, and title bars.
Disable notifications
We don’t know where you stand on app notifications, but if you absolutely hate them and wish to never get them ever again, press the Windows key and click on the gear icon to open your Settings. Click System and select Notifications & Actions. Switch off whatever app notifications you don’t want.
Switch up and personalize your Windows 10 however you like by using some or all of these options. If you want more ways to personalize your desktop or if you need information on anything Windows 10-related, give us a call and we’ll be happy to help.


